

Whether your vehicle’s window tint has turned purple with age, started to bubble, or you’re ready to upgrade to a higher performance film, removing the existing window tint is the essential first step. When done correctly, window tint removal leaves your glass clean and perfectly prepared for a fresh, flawless new application.
In this step-by-step guide, we’ll walk you through the best way to remove window tint from car windows, house windows, and rear windows including how to remove window tint glue and adhesive residue so the surface is ideally prepped for whatever comes next.
What You’ll Need: Window Tint Removal Kit & Tools
Before you begin, gather these supplies. You likely already have most of them at home:
• Razor blade scraper or window tint removal tool
• Heat gun or hair dryer
• Isopropyl alcohol (rubbing alcohol) or window tint removal spray
• Dish soap and water in a spray bottle
• Microfiber cloths or paper towels
• Plastic garbage bag (for the steam method)
• Safety gloves
You can also purchase a dedicated window tint removal kit from most auto parts stores these typically bundle a scraper, removal spray, and a microfiber cloth.
Best Way to Remove Window Tint: 3 Proven Methods
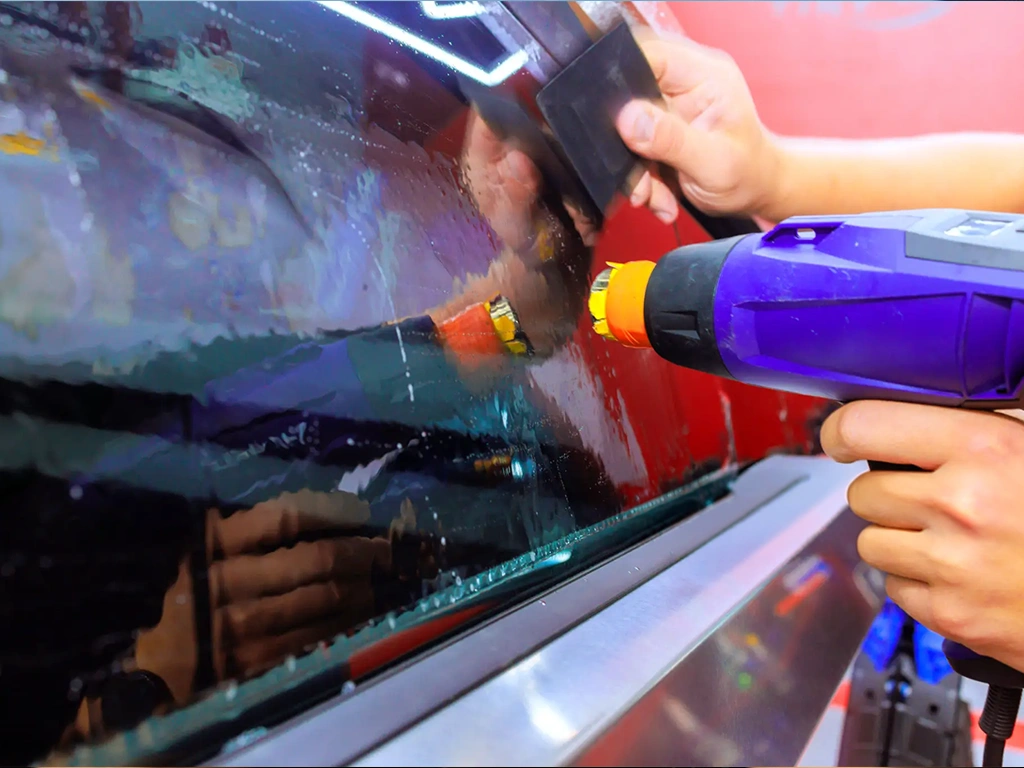
Method 1: Heat Gun or Hair Dryer (Most Recommended)
Heat is the most effective and safe method for removing window tint film from car windows. It softens the adhesive so the film peels away in large sheets rather than small, frustrating pieces.
- Start at a corner use a razor blade or your fingernail to lift one corner of the tint film.
- Apply heat hold a heat gun or hair dryer 2–3 inches from the film surface. Move it slowly back and forth for 30–60 seconds until the film feels warm to the touch.
- Peel slowly at a low angle pull the film back at a 30-degree angle, keeping the heat gun moving just ahead of where you’re peeling. Slow and steady prevents tearing.
4. Repeat section by section work across the window in manageable sections until all the tint film has been removed.
Method 2: Ammonia & Sunlight (Garbage Bag Method)
This is a popular method for removing window tint from car windows without a heat gun. It works especially well outdoors on a sunny day.
- Cut a black garbage bag to the shape of the window and wet the exterior glass with soapy water. Press the bag against the outside of the window.
- Spray an ammonia-based cleaner (or a dedicated window tint removal spray) on the interior side of the tint film.
- Cover the interior side with another black garbage bag to trap heat inside.
- Leave in direct sunlight for 20–30 minutes. The heat and ammonia work together to loosen the adhesive.
9. Peel off the tint starting from a corner.
Note: Use this method in a well-ventilated area. For rear windows with a defroster grid, the heat gun method in Method 1 is the preferred approach.
Method 3: Rubbing Alcohol or WD-40 (For Smaller Areas)
If you need to remove window tint without heat, isopropyl alcohol or WD-40 is a practical solution for smaller sections or windows where heat tools aren’t convenient. Spray directly onto the film, let it soak for a few minutes to loosen the adhesive, then carefully peel and scrape.
How to Remove Window Tint Glue & Adhesive Residue
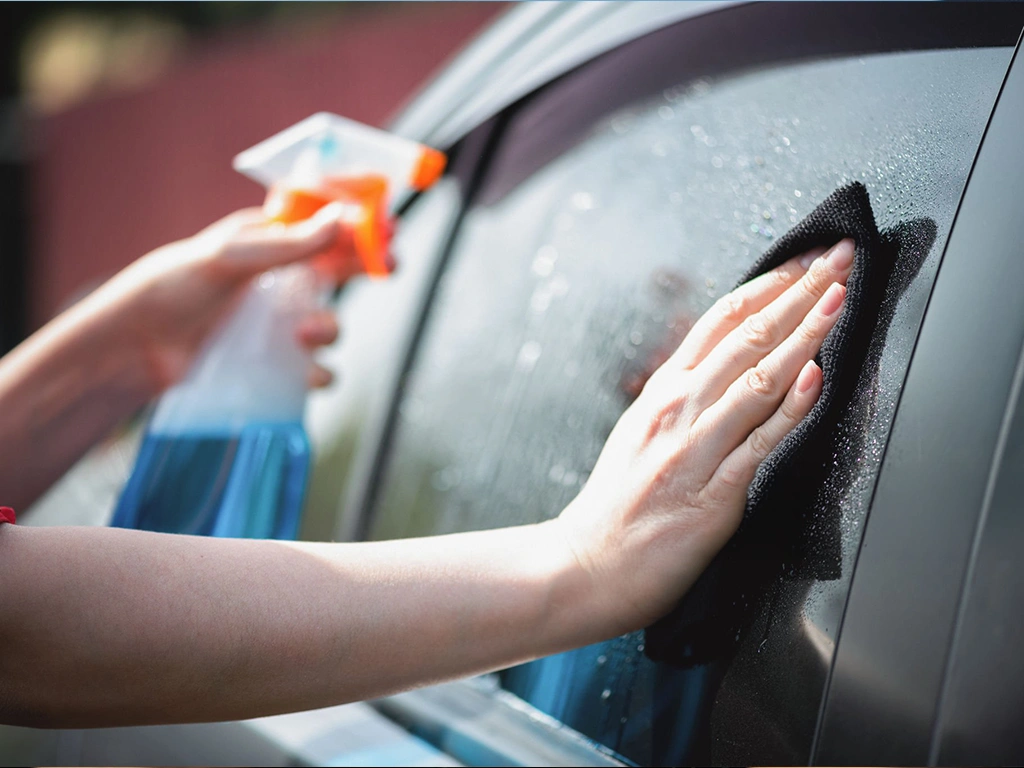
Once the film is off, a sticky residue will almost always remain. This is completely normal here’s the best way to remove window tint glue:
1. Spray the glass generously with isopropyl alcohol, a dedicated window tint removal spray, or undiluted dish soap.
2. Let it sit for 1–2 minutes to soften the adhesive.
3. Hold a clean razor blade scraper at a flat angle and gently scrape away the glue. Work in one direction.
4. Wipe with a microfiber cloth, then repeat as needed.
5. Finish by cleaning the glass with a standard glass cleaner for a streak-free result.
For stubborn old window tint adhesive, try letting rubbing alcohol or Goo Gone soak for 5–10 minutes before scraping. On rear windows with defroster lines, use a soft cloth instead of a razor blade to avoid scratching.
Is Window Film Removable? When to Call a Professional
Yes window film is removable, and the methods above work well for most standard situations. However, for the best results especially when preparing the glass for a new, high-performance film working with a certified installer ensures the surface is perfectly clean and free of any residue that could affect adhesion or optical clarity.
Professional removal is especially recommended when:
• The tint is very old and brittle it will shred into small pieces rather than peel away cleanly.
• Your windows have complex curves (certain rear windshields).
• You want to ensure zero residue before applying a premium film.
A full car tint removal typically takes 2–4 hours depending on the number of windows and how bonded the adhesive has become over time.
In summary, proper window tint removal is all about preparation. Taking the time to remove the old film cleanly and eliminating every trace of adhesive residue makes all the difference in the quality and longevity of the new film you apply. A well-prepped glass surface means better adhesion, clearer optics, and a finish that looks professional from day one.
Once your windows are clean and ready, Lacuna window films offer an exceptional upgrade engineered for superior heat rejection, UV protection, and long-term optical clarity. Whether you’re working on a vehicle or a residential space, our authorized dealers are ready to help you choose and install the right film for your needs.


